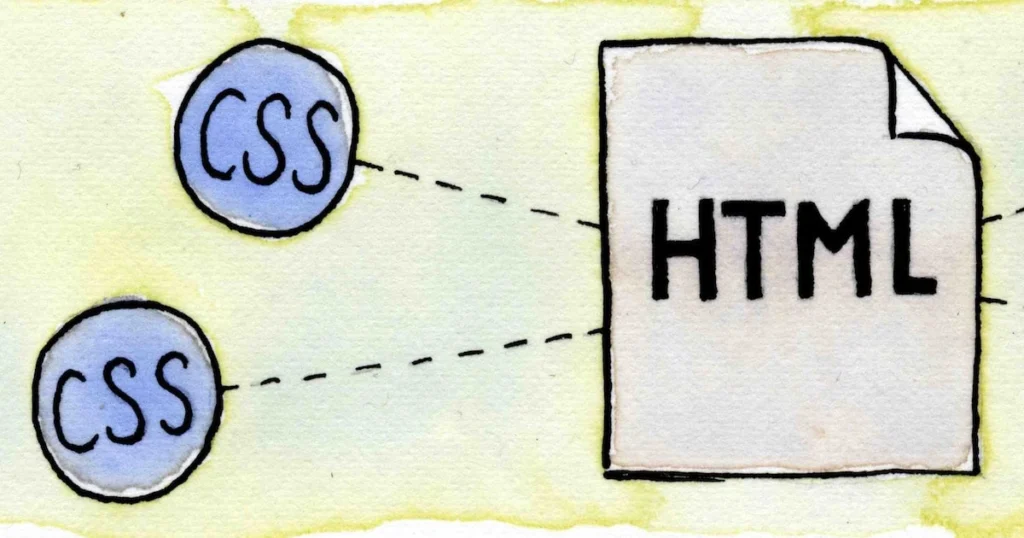
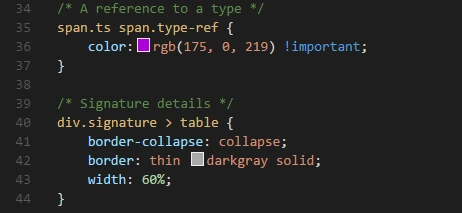
Hey there, fellow web enthusiasts! If you’re just starting your journey in web development, you’re probably familiar with two important components: the HTML document and the CSS file. These two work together to create the beautiful websites we all love to browse. Today, we’re going to dive into how to add a CSS file to your HTML document using the iconic `<link>` tag. Plus, I’ll throw in some insights about the CSS Academy and CSS courses that can help you master this skill!

What Are HTML Documents and CSS Files?
Let’s kick things off by breaking down what we mean by an HTML document and a CSS file .
An HTML document serves as the backbone of your web page. It’s the structure that holds your content together—think headings, paragraphs, images, and links. On the flip side, a CSS file is where the magic happens in terms of design. It controls how everything looks, from colors to fonts to layouts.
Imagine your HTML document as the skeleton of a body, while your CSS file is the clothing that gives it style and personality. Without one, the other is just a bit lackluster!

Why Use External CSS Files?
Now, you might wonder, “Why should I use an external CSS file instead of inline or internal styles?” Great question! Using an external CSS file is a smart move for several reasons:
1. Separation of Concerns : Keeping your styles separate from your HTML makes your code cleaner and easier to read.
2. Reusability : You can apply the same CSS file across multiple HTML documents . Just imagine how much time you’ll save!
3. Easy Maintenance : If you need to update your website’s design, you can do it in one place—your CSS file —rather than hunting down styles in every document.
The Role of the `<link>` Tag
To connect your CSS file to your HTML document , you’ll use the `<link>` tag. This is a simple yet powerful tool that tells the browser, “Hey, I have some styles that you need to apply!”
How to Structure the `<link>` Tag
The basic syntax of the `<link>` tag is quite straightforward:
“`html
<link rel=”stylesheet” href=”styles.css”>
“`
Let’s break this down:
– `rel=”stylesheet”` indicates that the linked document is a stylesheet.
– `href=”styles.css”` specifies the path to your CSS file . Make sure you replace “styles.css” with the actual name of your CSS file .
Step-by-Step: Adding a CSS File
Alright, let’s get into the fun part—how to actually add a CSS file to your HTML document .
Step 1: Create Your CSS File
Start by creating your CSS file . Open your favorite text editor and create a new file. Save it with a `.css` extension, like `styles.css`.
In your CSS file , you can define some basic styles. Here’s a quick example to get you started:
“`css
body {
font-family: Arial, sans-serif;
background-color: #f4f4f4;
}
h1 {
color: #333;
}
“`
Step 2: Link the CSS File in Your HTML Document
Next, it’s time to open or create your HTML document . In the `<head>` section, you’ll add the `<link>` tag we just discussed:
“`html
<!DOCTYPE html>
<html lang=”en”>
<head>
<meta charset=”UTF-8″>
<meta name=”viewport” content=”width=device-width, initial-scale=1.0″>
<link rel=”stylesheet” href=”styles.css”>
<title>My Awesome Web Page</title>
</head>
<body>
<h1>Welcome to My Web Page!</h1>
<p>This is a simple example of how to link a stylesheet.</p>
</body>
</html>
“`
Step 3: Save and Preview
Once you’ve added the `<link>` tag, save both your HTML document and stylesheet . Open your HTML document in a web browser, and voilà! You should see your styles applied. If it doesn’t look right, double-check that the path in your `<link>` tag matches your stylesheet location.

Exploring CSS Classes
Now that you have your CSS file linked, let’s discuss CSS classes . These are incredibly useful for applying styles to specific elements within your HTML document .
To create a CSS class , simply use a period (.) followed by the class name in your stylesheet . For instance:
“`css
.highlight {
background-color: yellow;
font-weight: bold;
}
“`
You can apply this CSS class in your HTML document like this:
“`html
<p class=”highlight”>This text will be highlighted!</p>
“`
The Benefits of CSS Classes
Using CSS classes helps you keep your styling organized and reusable. Instead of repeating the same styles for different elements, you can assign a CSS class where needed. This keeps your code DRY (Don’t Repeat Yourself) and enhances your site’s maintainability.

Learning More: CSS Academy and CSS Courses
If you’re eager to deepen your understanding of CSS, consider exploring options at a CSS Academy or enrolling in CSS courses . These resources provide structured learning that can take you from a novice to a pro in no time. Whether it’s understanding the intricacies of responsive design or mastering animations, there’s a wealth of knowledge waiting for you.
Wrapping It Up
And there you have it! Adding a stylesheet to your HTML document is a breeze when you use the `<link>` tag. With this knowledge, you can start creating beautifully styled web pages that stand out.
Remember, mastering CSS takes practice, so don’t hesitate to experiment with your styles. If you’re serious about leveling up your web development skills, definitely look into joining a CSS Academy or signing up for a CSS course .
If you have any questions or need further clarification, feel free to drop a comment below. I’m here to help! Happy coding!


