Sure! Implementing a sticky header on your website is a fantastic way to improve user navigation and enhance the overall user experience. In this guide, we’ll explore how to create a sticky header using CSS and JavaScript, and I’ll weave in some insights about front end development course along the way. Let’s get started!
What is a Sticky Header?
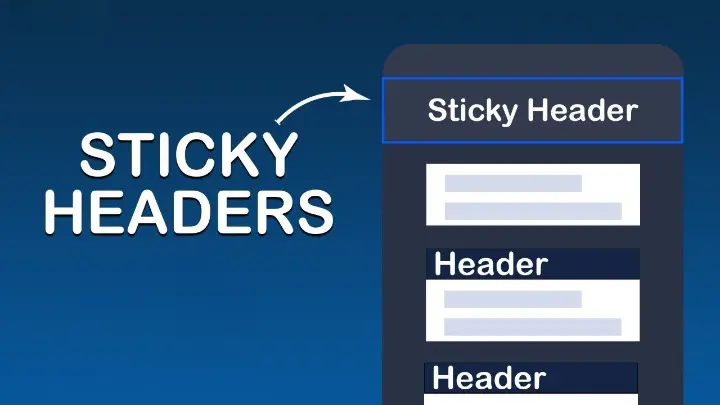
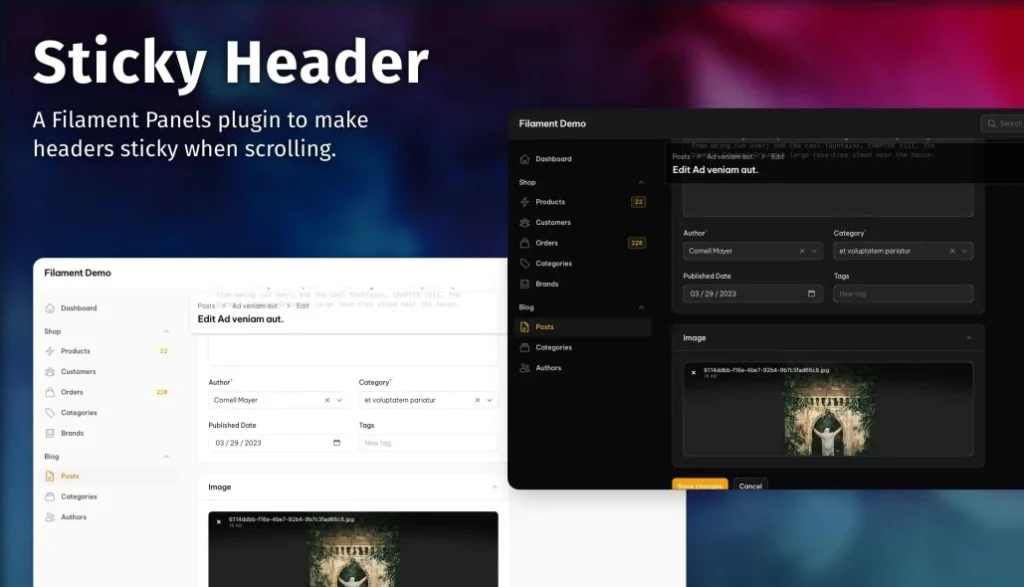
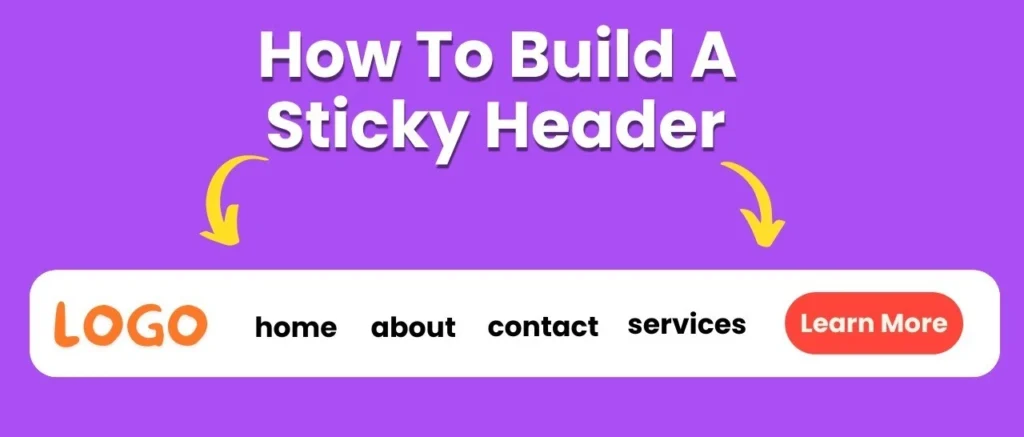
A sticky header, or fixed header, stays at the top of the viewport while the user scrolls down the page. This feature allows visitors to access navigation links without having to scroll back up. It’s especially handy on long pages and can significantly improve usability. Learn Front End Development Course and know in detail about sticky header.
Why Learn to Create a Sticky Header?
If you’re venturing into the world of web development, mastering sticky headers is a practical skill you’ll encounter in many projects. Understanding how to implement such features is often included in front end web developer courses . Plus, it’s an excellent way to enhance your portfolio and showcase your skills!
Basic HTML Structure
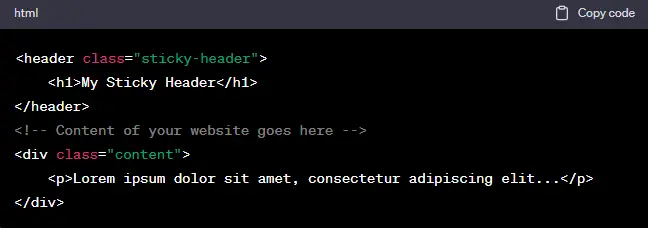
First, let’s create the HTML structure for our page. This will include a header with navigation links and some sections to scroll through. Here’s a simple example to get you started:
“`html
<!DOCTYPE html>
<html lang=”en”>
<head>
<meta charset=”UTF-8″>
<meta name=”viewport” content=”width=device-width, initial-scale=1.0″>
<title>Sticky Header Example</title>
<link rel=”stylesheet” href=”styles.css”>
</head>
<body>
<header id=”header”>
<h1>My Sticky Header</h1>
<nav>
<ul>
<li><a href=”#section1″>Section 1</a></li>
<li><a href=”#section2″>Section 2</a></li>
<li><a href=”#section3″>Section 3</a></li>
</ul>
</nav>
</header>
<main>
<section id=”section1″>
<h2>Section 1</h2>
<p>Content goes here…</p>
</section>
<section id=”section2″>
<h2>Section 2</h2>
<p>Content goes here…</p>
</section>
<section id=”section3″>
<h2>Section 3</h2>
<p>Content goes here…</p>
</section>
</main>
<script src=”script.js”></script>
</body>
</html>
“`
Styling the Header with CSS
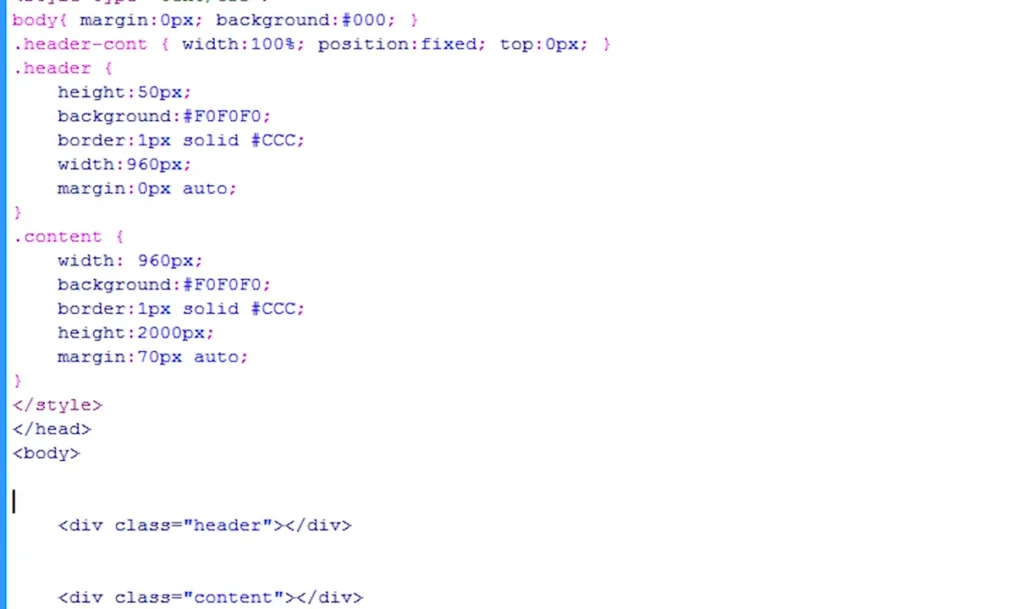
Next up, let’s create a `styles.css` file to style our sticky header. This will include the properties that make the header stick to the top of the page. Here’s a simple CSS setup:
“`css
body {
margin: 0;
font-family: Arial, sans-serif;
}
header {
background-color: #333;
color: #fff;
padding: 15px;
position: sticky; / This makes the header sticky /
top: 0; / Sticks the header to the top /
width: 100%;
z-index: 1000; / Keeps the header above other elements /
}
nav ul {
list-style-type: none;
padding: 0;
}
nav ul li {
display: inline;
margin-right: 20px;
}
nav ul li a {
color: #fff;
text-decoration: none;
}
section {
padding: 50px 20px;
height: 600px; / Just for demo purposes /
border-bottom: 1px solid #ddd;
}
“`
How Does CSS Work in This Example?
The key properties here are `position: sticky` and `top: 0`. This tells the browser to keep the header at the top of the viewport when the user scrolls down. The `z-index` property ensures that the header stays on top of other content.
Adding JavaScript for Smooth Scrolling
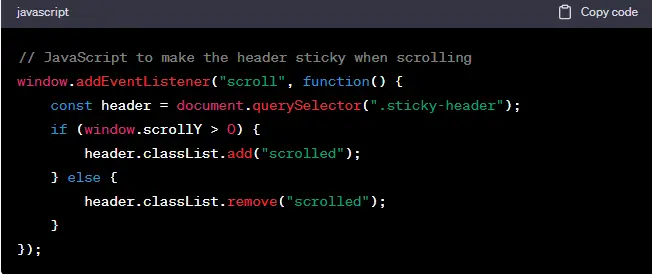
While the sticky header can work perfectly with just CSS, adding a touch of JavaScript can enhance user experience even further. For example, we can make the navigation links scroll smoothly to their respective sections. Create a file named `script.js` for this purpose:
“`javascript
document.querySelectorAll(‘nav ul li a’).forEach(anchor => {
anchor.addEventListener(‘click’, function(e) {
e.preventDefault();
const targetId = this.getAttribute(‘href’);
const targetElement = document.querySelector(targetId);
targetElement.scrollIntoView({
behavior: ‘smooth’
});
});
});
“`
Understanding the JavaScript
In this script, we add an event listener to each navigation link. When a link is clicked, it prevents the default behavior (which would cause a jump), and instead, it smoothly scrolls to the target section using the `scrollIntoView` method. This is a small touch that makes your site feel much more polished and user-friendly.
Testing Your Sticky Header
Now that we have our HTML, CSS, and JavaScript set up, open your HTML file in a web browser. As you scroll down, you should see the header remains fixed at the top. Clicking on the navigation links will smoothly scroll you to the respective sections.
Front End Development Course Learning Opportunities
Creating a sticky header is just one of the many skills you can learn in a front end developer course online . If you’re passionate about web development, consider enrolling in a front end web development course where you’ll explore not only sticky headers but also responsive design, CSS animations, and JavaScript frameworks.
Expanding Your Knowledge
As you continue learning, you might come across various resources that teach you more advanced techniques. For example, many front end developer classes dive into frameworks like React, Vue, or Angular, which can further enhance your skills in building modern web applications.
Best Practices for Sticky Headers
When implementing sticky headers, there are a few best practices to keep in mind:
1. Keep It Simple : A cluttered header can overwhelm users. Stick to essential links and a clean design.
2. Responsive Design : Make sure your sticky header works well on both desktop and mobile devices. Consider using media queries to adjust styles for different screen sizes.
3. Performance : Use lightweight JavaScript to avoid performance issues. Too much overhead can lead to slow scrolling and janky animations.
4. Test Across Browsers : Ensure your sticky header functions properly in all major browsers. Browser compatibility is crucial for a seamless user experience.
Resources for Further Learning
If you’re serious about becoming a front end developer, here are some resources you might consider:
– Online Courses : Look for platforms like Coursera, Udemy, or Codecademy that offer comprehensive front end developer courses . Many of these include practical projects, so you can apply what you learn.
– YouTube Tutorials : There are tons of free tutorials available on YouTube that cover various aspects of front end development. Search for specific topics like “sticky headers” or “CSS layout techniques.”
– Documentation and Guides : Familiarize yourself with the official documentation for HTML, CSS, and JavaScript. Resources like MDN Web Docs are invaluable for understanding web standards and best practices.
Conclusion
And there you have it! You’ve just learned how to implement a sticky header using CSS and JavaScript, enhancing your website’s usability and aesthetic appeal. This skill is a perfect example of what you can gain from a front end web developer course .
As you continue your journey in front end web development , remember that practice is key. Experiment with different designs and functionalities to solidify your skills. Whether you choose to take a front end development course online or participate in front end developer classes , the important thing is to keep learning and building.
So, roll up your sleeves and start coding! Happy developing!

